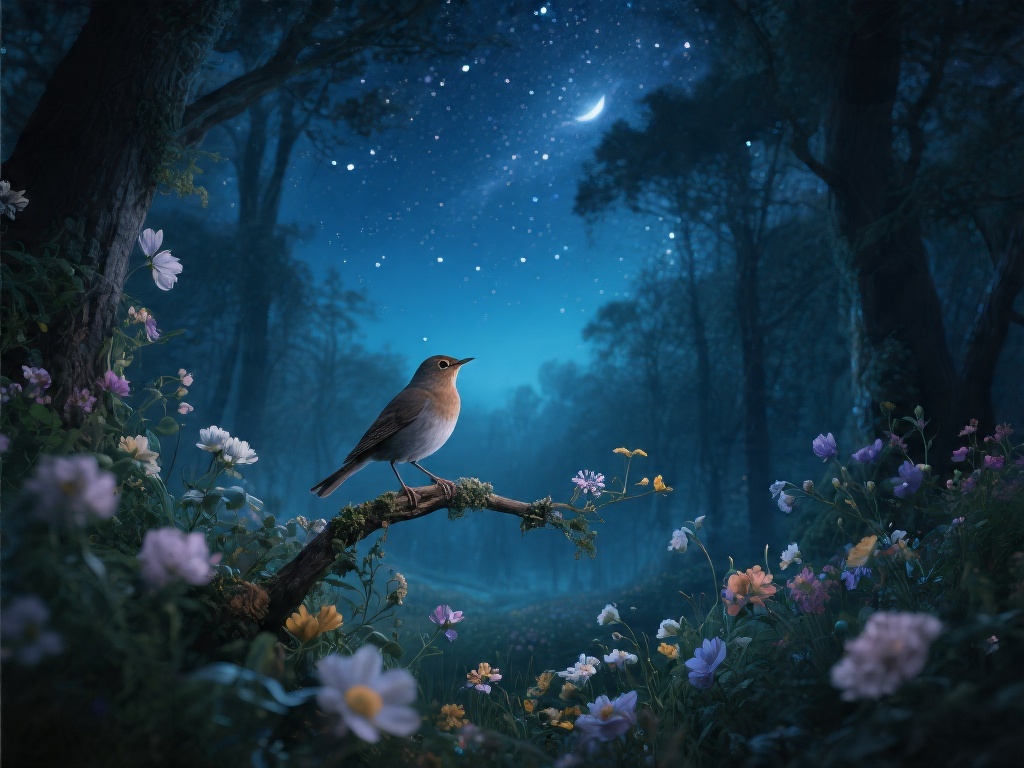
I’ve been a hobby wildlife photographer for 12 years, and few shots feel as rewarding as nailing a crisp, well-lit picture of a nightingale. These small, unassuming birds are famous for their rich, melodic songs, but they’re incredibly secretive, so most people only ever hear them, not see them. I spent three weekends last spring camping out near a local scrubland just to get my first usable shot, and I made every mistake in the book along the way. This guide breaks down everything I learned, so you don’t have to waste hours sitting in damp bushes waiting for a glimpse that never comes.
How to Prep to Capture a Great Picture of a Nightingale
Before you even grab your camera, you need to do a little scouting to make sure you’re in the right place at the right time. Nightingales are migratory in most parts of Europe and North America, so first confirm they’re active in your area during their breeding season, which runs from late April to early July in most temperate regions. Nightingales are most active and vocal 30 minutes before sunrise and two hours after sunset, so plan your trip for these windows if you want the best chance of spotting one. They favor thick, low-lying hedgerows, scrubland, and overgrown gardens with plenty of dense cover, so skip open parks or mature forests, as these don’t offer the seclusion they prefer. You can also check local birding forums to see if other photographers have spotted nightingales in your area recently, just don’t ask for exact nest locations to avoid disturbing the birds.
Camera Settings Perfect for Nightingale Photography
You don’t need a $5,000 professional camera setup to get a great shot of a nightingale, but tweaking your settings for low-light, fast-moving subjects will make a huge difference in the quality of your photos. I’ve used everything from a mid-range DSLR with a 200mm telephoto lens to a modern smartphone, and these settings work across almost all devices:
- Aperture: f/4 to f/5.6 – this balances sharp focus on the bird and softens distracting background foliage without blurring key details of its warm brown plumage and distinctive pale eye ring.
- Shutter speed: 1/1000s or faster – nightingales are skittish and move quickly between branches, so a fast shutter speed eliminates motion blur even when they dart out of cover for a split second.
- ISO: 800 to 3200 – most nightingale shoots happen in dim, filtered light under tree cover, so this range keeps your shots bright without introducing excessive digital noise that ruins fine details.
- Focus mode: Continuous autofocus (AF-C) – this tracks the bird’s movement as it shifts position, so you don’t miss the perfect shot when it pops out of a bush to sing for a few seconds.
Ethical Rules to Follow When Photographing Nightingales
Getting a great shot isn’t worth disturbing these vulnerable birds, especially during their breeding season when they’re raising chicks. Nightingale populations have dropped by more than 50% in some regions over the past 20 years due to habitat loss, so responsible photography is non-negotiable. You should never get closer than 10 meters to a nightingale’s suspected nesting site, even if you can see the bird clearly from that distance. If the bird starts making repeated sharp alarm calls, flicks its tail constantly, or flies away repeatedly, you’re too close, and you need to back off immediately. Don’t play recorded nightingale songs at full volume to draw them out either; this can disrupt their mating patterns and make them waste energy defending their territory from a fake intruder. I once saw a group of photographers play a mating call for 20 minutes straight, and the male nightingale didn’t return to his nest for three hours, leaving his eggs exposed to cold and predators. It’s not worth it for a single photo.
Common Mistakes to Avoid When Trying to Get a Nightingale Shot
I made almost all of these mistakes on my first few trips, so learning them ahead of time will save you a lot of frustration. The biggest mistake most new photographers make is moving too much or making too much noise. Nightingales have extremely sharp hearing, so even the sound of a candy wrapper crinkling or you shifting your weight from one foot to the other can send them hiding for an hour. Avoid wearing bright red, orange, or white clothing when scouting for nightingales – they are very sensitive to high-contrast colors and will stay hidden if they spot you easily. Stick to muted greens, browns, and grays, and consider bringing a small camouflage hide to sit behind if you plan to stay in one spot for a long time. Don’t rely solely on visual cues to find nightingales – their distinctive, loud song is the easiest way to locate them before you ever see a feather. I usually stand still for 10 minutes when I first arrive at a site, just listening for their call, before I even take my camera out of its bag. Another common mistake is leaving too soon. Most people give up after 30 minutes of waiting, but nightingales often take an hour or more to get used to your presence and come out into the open. Bring a small, quiet snack and a thermos of coffee, and be prepared to wait.
At the end of the day, capturing a picture of a nightingale is as much about patience and respect for the bird as it is about photography skill. My first usable shot was blurry and poorly lit, but I still have it framed on my desk because I remember how excited I was when the little bird finally popped out of the hedge and sang for 10 seconds straight. Follow these tips, stick to the ethical rules, and take your time, and you’ll end up with a shot you’re proud of, without disrupting the birds you’re there to admire. You might even find that the quiet hours spent waiting and listening to their song is just as rewarding as the photo itself.