If you’re a fan of the Nightingale franchise, you’ve probably seen the iconic bird motif everywhere from in-game armor to official merch, but nothing beats a custom piece you made yourself. Whether you want a cute plush for your desk, a fabric patch for your jacket, or a subtle accent for your cosplay fit, learning how to make cloth nightingale crafts is a fun, low-cost project that works for beginners and experienced sewers alike. I’ve made over a dozen of these for friends and local cosplay meetups over the past year, so I’ve broken down the process to skip all the trial and error I went through when I first tried to freehand the shape.
What You’ll Need Before You Start to Make Cloth Nightingale Pieces
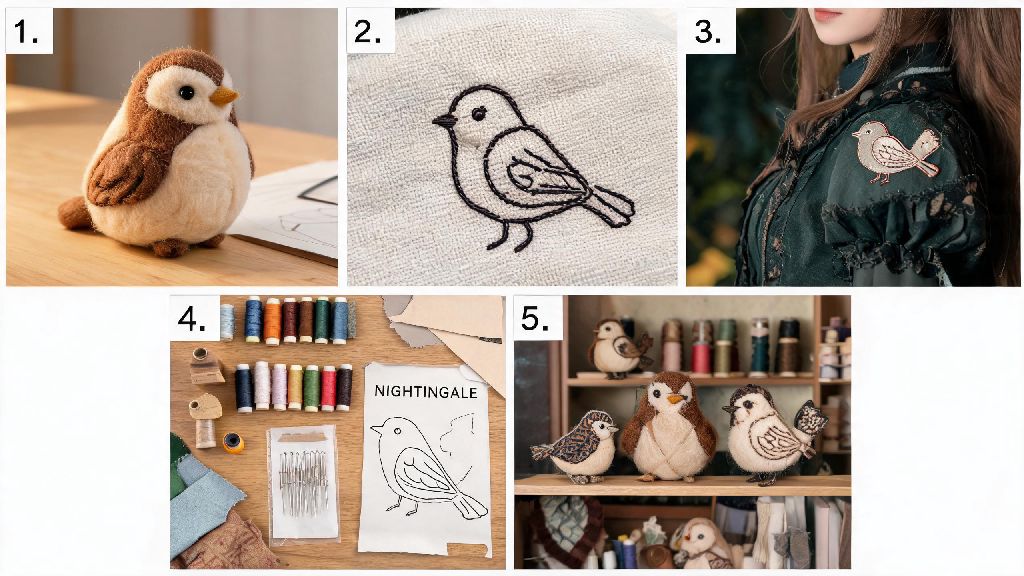
You don’t need fancy, expensive supplies to pull off a great finished piece, and most of these items are probably already in your craft closet if you’ve dabbled in sewing or DIY projects before. I recommend gathering all your supplies first so you don’t have to pause mid-project to run to the craft store. Here’s the full list of must-have and optional items:
Don’t skimp on fabric quality if you’re making a piece you plan to use regularly, like a bag charm or cosplay patch. Cheap generic fleece pills easily after a few weeks of use, and thin cotton will fray at the edges far faster than a medium-weight woven fabric. You can usually find scrap fabric at local thrift stores for under a dollar if you don’t want to buy a full yard for a small project.
Step-by-Step Sewing Process for Beginner Makers
This process works for any size of cloth nightingale, from a 2-inch keychain to a 12-inch plush for your couch, and it takes roughly 90 minutes total for a first-time maker. Start by cutting out your pattern pieces: you’ll need one main body piece, two matching wing pieces, and one small tail piece. If you’re freehanding, make sure you cut the pieces with a ¼-inch seam allowance around all edges to avoid losing shape when you sew.
Pin the wing and tail pieces to the right side of one body piece, then place the second body piece on top so the right sides are facing each other. Sew around the entire edge, leaving a 2-inch gap at the bottom for stuffing. Trim the excess fabric around curved edges to reduce bulk when you turn the piece right side out, and snip small notches around the wing curves to keep the shape smooth.
If you don’t have pre-cut patterns on hand, you can find free, fan-created Nightingale craft templates on Nexus Mods’ Nightingale community page, where other makers share adjusted sizes for everything from iron-on patches to full-size wall hangings. Most of these patterns are free to download and print, so you won’t have to spend time tweaking your freehand shape to match the official design. Just make sure you adjust the print scale to match the size of the piece you want to make, so you don’t end up with a tiny keychain when you wanted a couch plush.
Turn the piece right side out, then stuff it firmly with polyester filling, using a chopstick or pencil to push stuffing into the beak and wing tips so they hold their shape. Sew the gap shut with a small invisible stitch, then add your detailing: embroider the black eye and gold chest marking, and stitch small lines on the wings to add feather texture. Use a small running stitch for all visible seams to avoid fraying, and pull the thread tight enough to keep details crisp but not so tight that the fabric bunches up.
No-Sew Alternative for People Who Don’t Own a Sewing Machine
If you don’t know how to sew or don’t have access to a machine, you can still make a durable cloth nightingale with basic fabric glue or iron-on adhesive. The process is almost identical to the sewing version, except you’ll use adhesive instead of thread to hold the edges together. I’ve used this method for last-minute convention crafts, and it works surprisingly well for low-use pieces.
Start by cutting out your pattern pieces the same way you would for a sewn version, then apply fabric glue or iron-on adhesive to the edges of the wrong side of your pieces. Press the edges together firmly, and let them dry completely before you turn the piece right side out. Always let the glue cure for at least 24 hours before stuffing or handling the piece, otherwise the edges will pop open when you push stuffing inside.
For detailing, you can use fabric paint instead of embroidery to save time, and it dries in under an hour if you use a fast-drying formula. Keep in mind that no-sew versions won’t hold up as well as sewn pieces if you’re making something you’ll wear or carry around daily, but they’re perfect for one-off cosplay accents or decorative pieces that will sit on a shelf. I made a no-sew cloth nightingale keychain for my sister last year, and it held up for 6 months before the edge started to peel, so it’s a solid option if you’re short on time or don’t want to invest in sewing supplies.
Pro Tips to Make Your Cloth Nightingale Look Polished and Professional
Even if you’re a total beginner, a few small tweaks will make your finished piece look like it came from a custom merch shop instead of a first-time craft project. I picked up these tips from years of making fan crafts, and they cut down on mistakes significantly:
Match the fabric nap direction when cutting out your pieces, so the plush has a smooth, consistent look instead of patchy lighter and darker spots. Fleece fabric has a slight grain that runs in one direction, so run your hand over the fabric before cutting to make sure all pieces are oriented the same way.
Add a small weight to the bottom of plush pieces if you’re making a desk decor piece, so it doesn’t tip over easily. You can use a small stone, a few pennies, or a dedicated craft weight tucked into the bottom before you sew the gap shut, and it will keep the piece sitting upright perfectly.
If you’re making a patch to sew onto clothing, add a layer of iron-on interfacing to the back of the patch before you add details. This will stop the fabric from stretching when you sew it onto jackets or backpacks, and it will prevent the edges from fraying after multiple washes. You can also add extra custom touches, like a small bell inside the plush for a subtle jingle, or a ribbon loop to hang it on your holiday tree if you’re making seasonal decor.
Don’t worry if your first piece doesn’t look exactly like the official Nightingale design. Part of the fun of custom crafts is adding your own personal flair, and small imperfections make the piece feel more unique and personal. I’ve had people ask to buy my slightly wonky first attempts more often than my perfectly polished ones, since they feel more authentic to the fan-made craft vibe.
At the end of the day, learning how to make cloth nightingale pieces is a great way to show off your love for the franchise while building a fun new skill. You don’t need fancy supplies or years of sewing experience to make something you’ll be proud to display or wear, and small custom touches will make your piece feel totally unique. Next time you’re looking for a low-effort, high-reward craft project, give this one a try – you might end up making half a dozen for all the Nightingale fans in your life.