If you’ve ever tried to capture the delicate, soft shape of a songbird on paper, you know small details can make or break the final piece. I’ve been drawing backyard birds for over 12 years, and I still get excited when I get to walk new artists through how to draw a nightingale, one of the most beloved small songbirds across the globe. A lot of people assume it’s too hard to get its layered feathers and slender beak right, but you don’t need fancy art supplies or years of training to pull off a beautiful, realistic sketch. This guide breaks the process down into simple, actionable steps, plus shares little hacks I’ve picked up over years of practice to avoid common mistakes.
What You’ll Need Before You Learn How to Draw a Nightingale
You don’t need a shelf full of professional art supplies to make a great nightingale sketch. Most of the items I use for my own practice sketches are things you probably already have lying around your house. If you want to make the process as easy as possible, stick to this short list of essentials:
- A standard No. 2 pencil (or mechanical pencil with 0.5mm lead for finer, more precise lines)
- Plain sketch paper (80 gsm is fine for practice, 120 gsm if you plan to add watercolor or marker later)
- A kneaded eraser (it won’t leave smudges or tear thin paper when you fix small mistakes)
- One soft charcoal pencil (optional, for adding deep shadow to feather layers for a more dramatic finish)
If you only have a regular pencil and notebook paper lying around, that works too. You don’t need to invest in premium art supplies for your first sketch – I’ve made plenty of gallery-worthy nightingale drawings using nothing but cheap office supplies I had in my desk drawer. The only supply I really recommend splurging on if you plan to draw more birds later is a kneaded eraser. Kneaded erasers are far better for bird drawing than standard rubber erasers, because you can shape them into tiny points to erase small mistakes without smudging the rest of your sketch. Even if you’ve never followed a bird tutorial before, this simple supply list makes it easy to nail the base for how to draw a nightingale without stress.
Step 1: Lay Out the Basic Shape of Your Nightingale
The biggest mistake new artists make when drawing birds is jumping straight to fine details before they get the base proportions right. Starting with light, simple guide shapes cuts down on erasing later and makes the whole process way less frustrating. Start by drawing a 1-inch wide circle for the head, positioned slightly above and to the left of a 2-inch long, tapered oval for the body. The narrow end of the oval should point down and to the right, to mimic the natural perching pose of a nightingale. Connect the head and body with two soft, curved lines for the neck – don’t make the neck too long, nightingales have short, compact necks that are mostly hidden by feathers when they’re resting.
Always use light, barely visible lines for your initial sketch so you can erase adjustments easily later. I used to press way too hard on my initial lines when I started drawing birds, and I’d end up with faint gray smudge marks even after erasing that ruined the clean look of my final piece. If you can barely see the lines you’re drawing, that’s exactly the right pressure. Next, add a small, thin horizontal line under the body oval to mark the branch the nightingale is perching on – you don’t have to draw the full branch yet, just a guide to make sure the legs are positioned correctly.
Step 2: Add Defining Details to Bring Your Bird to Life
Now that you have your basic shape guide, you can start adding the defining features that make a nightingale recognizable. First, the beak: draw a small, triangular shape on the front of the head circle, with a very slight curve at the tip. The beak should be about 1/3 the width of the head, no longer – if you make it too long, your bird will look like a sparrow or thrush instead of a nightingale. Next, the eye: draw a small, dark circle on the side of the head, slightly above the beak line. Add a tiny white dot in the top corner of the eye to mimic light reflection – that one tiny detail will make your bird look alive instead of flat.
Then add the legs: draw two thin, straight lines coming down from the bottom of the body oval, each splitting into three small toes pointing forward on the branch, and one tiny toe pointing back. Pay extra attention to the angle of the beak if you want to draw a nightingale mid-song – it should be slightly open, pointed upward at a 45-degree angle, not straight out. If you’re not sure about proportions, hold your pencil up to a reference photo of a nightingale to measure the ratio of beak length to head size, that’s a trick professional artists use all the time to get proportions right. These small details are what separate a generic songbird sketch from one that clearly shows you know how to draw a nightingale correctly.
Step 3: Add Feathers and Shadows for a Realistic Finish
This is the step where your sketch goes from a generic bird to a realistic nightingale, and it’s easier than you think. Start with the wings: draw a soft, curved line from the base of the neck down to the middle of the body to mark the top of the folded wing. Then add short, curved lines along the bottom edge of the wing to indicate groups of flight feathers – don’t draw every single feather, that will make your wing look stiff and unnatural. Next, add soft, wispy lines around the chest and top of the head to mimic the soft downy feathers nightingales are known for.
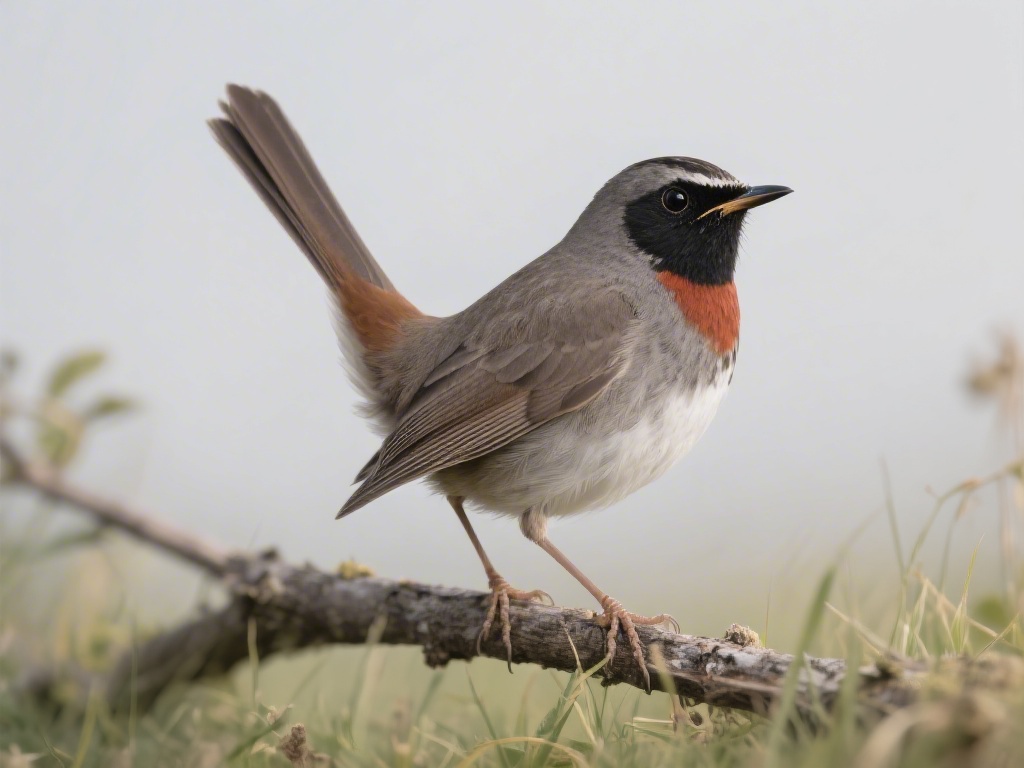
Then add shadows: use the side of your pencil tip to lightly shade the area under the beak, the area under the folded wing, and the small gap between the bird’s body and the branch. You can also add a tiny bit of shading on the side of the head opposite the light source to add depth. You only need 2 to 3 shades of depth to make your nightingale look three-dimensional – you don’t have to blend 10 different shades for a great sketch. I’ve found that adding one small tuft of feathers sticking up on the top of the head adds a lot of personality, and it’s a tiny detail most people miss when they draw nightingales for the first time. If you want to add color, nightingales are mostly soft brown with a pale gray belly and a slightly reddish-brown tail, but you can use any colors you want to match your personal style.
Once you’ve erased any leftover initial guide lines, you’re done. Don’t get discouraged if your first attempt doesn’t look perfect – I went through almost 20 rough sketches before I got the proportions right when I first learned how to draw a nightingale. The best part about this process is you can adjust it to match your style, whether you prefer hyper-realistic art, cute cartoon sketches, or minimalist line art. If you want to practice more, try drawing nightingales in different poses: mid-flight, eating berries, or perched on a flowering branch. Grab your pencil and try a quick sketch today – you might be surprised how good it turns out.