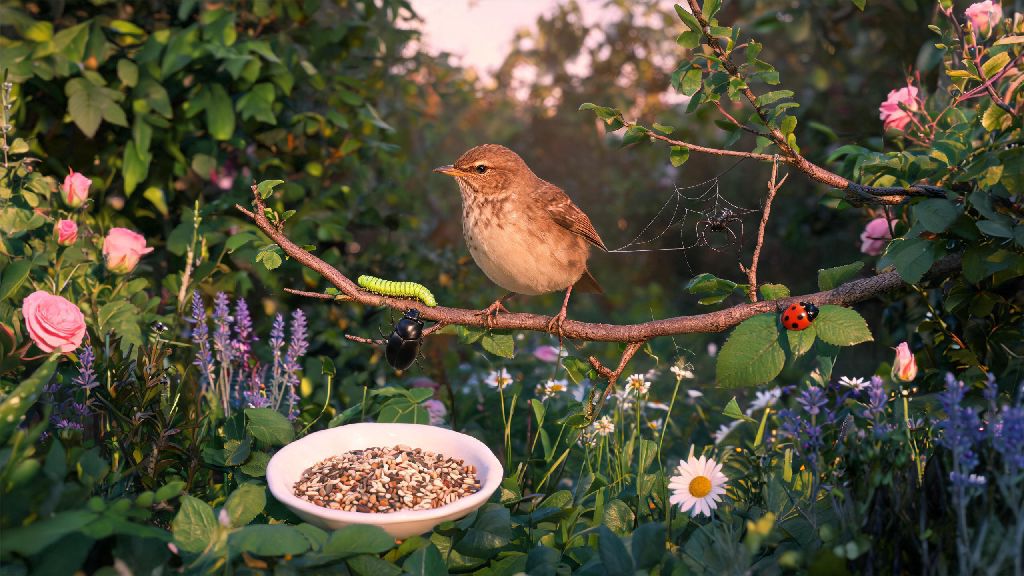
I’ve been making small wire animal crafts for over 7 years, and the wire nightingale is still one of my go-to projects for gifting or selling at local craft fairs. It’s small enough to finish in an afternoon, delicate enough to look high-end, and forgiving for new crafters who are still getting used to working with pliable metal wire. If you’ve ever wondered how to make wire nightingale decor that doesn’t look lopsided or flimsy, this guide breaks down every step without the confusing jargon most craft tutorials throw at new learners. I’ve tested every tip here across 20+ attempts, so I know exactly what works and what leads to wasted wire and frustration.
What You Need Before You Learn How to Make Wire Nightingale Crafts
You don’t need fancy, expensive tools to pull off this project. Most of these supplies are available at local craft stores for under $15 total, and many you might already have lying around if you’ve done any basic craft work before. I recommend avoiding the cheapest thin craft wire you can find, though, because it bends too easily and won’t hold its shape long after you finish your piece. My go-to supplies are:
- 18 gauge aluminum craft wire: It’s soft enough to bend with your fingers, but sturdy enough to hold its shape for years without tarnishing
- 24 gauge colored copper wire: Use this for fine details like feather accents or small feet, it comes in soft brown or black shades that look perfect for nightingale markings
- Round nose pliers, flat nose pliers, and wire cutters: Basic jewelry making pliers work best, but regular household pliers will do if you don’t want to buy new tools
- A small wooden dowel or thick marker: This helps you bend consistent curves for the bird’s body and wing shapes
- Optional: small glass bead for the eye: A 2mm black or brown bead adds a nice realistic touch, but you can also just twist a small loop of thin wire if you don’t have beads on hand
One mistake I see new crafters make all the time is using galvanized steel wire for this project. It’s much harder to bend, leaves sharp, jagged edges when you cut it, and will rust if you display your nightingale outside or in a humid room. Spend the extra $2 on aluminum wire, and you’ll have a much easier time with every step of the process.
Step-by-Step Base Shaping for Your Wire Nightingale
Start by cutting a 12 inch length of your 18 gauge aluminum wire. This will form the main body, head, and tail of your nightingale, so you don’t want to cut it too short. I always cut an extra inch or two just in case I mess up a bend, because it’s easier to trim extra wire off at the end than it is to start over if you run out of length mid-project.
First, make a small teardrop shape for the bird’s body, using your wooden dowel to get a smooth, even curve at the rounded end. The pointed end of the teardrop will be the tail, so leave about 4 inches of wire sticking out from that end. Next, bend the opposite end of the wire up to form the head, making a small ½ inch loop for the beak before wrapping the excess wire around the base of the neck to secure it in place. You don’t need to wrap it super tight right now, you can adjust the shape later when you add the details.
If you’re unhappy with the shape at any point, you can gently bend the aluminum wire back and adjust it without ruining your wire nightingale base. That’s the biggest benefit of using aluminum wire for this project, it’s extremely forgiving even if you have to reshape parts three or four times to get it right.
Pro tip: Keep a photo of a real nightingale open next to you while you work. You don’t have to copy it exactly, but referencing the real proportions will help your finished piece look more natural than if you just guess at the head and body size. I keep a small printed photo taped to my craft table just for this purpose, and it’s cut down my revision time by almost 70% for all my wire bird projects.
Adding Wing and Feather Details That Stand Out
Once your base shape is secured, it’s time to add the wings, which is the part that makes the nightingale look distinct from other small wire bird crafts. Nightingales have slightly rounded, shorter wings than finches or sparrows, so you don’t want to make them too long or pointed. Cut two 6 inch lengths of your 18 gauge wire for the wing bases.
Bend each wire into a shallow, rounded D shape, then attach each one to the side of the bird’s body by wrapping the ends of the wing wire around the main body frame two or three times. Make sure both wings are even in size and angle before you tighten the wraps, because it’s really hard to adjust them once they’re secured. If you notice one is higher than the other, just loosen the wraps a little and shift it into place before you move on.
Next, take your thin 24 gauge colored wire to add feather details. Wrap it in loose, overlapping lines across each wing frame, leaving small gaps so light can shine through the finished piece. You don’t have to wrap every inch of the wing – a little negative space makes the wire look lighter and more delicate, which is perfect for a nightingale’s soft silhouette. You can also wrap a few small lines of the thin wire across the bird’s back to mimic the subtle feather patterning real nightingales have.
If you make a mistake while wrapping the thin wire, just snip it off and start over, it won’t ruin the rest of your wire nightingale. I usually go through two or three small lengths of thin wire per wing when I’m making a piece for a craft fair, because I’m picky about how the feather lines look.
Finishing Touches and Common Mistakes to Avoid
Once all your details are added, it’s time to trim any excess wire and sand down any sharp edges to avoid cuts later. Run your finger along every part of the bird’s frame, and if you feel any jagged cut ends, use a small piece of fine grit sandpaper to smooth them down. If you’re adding a bead eye, now is the time to slide it onto a small length of thin wire and attach it to the head, right above the beak loop.
There are a few really common mistakes new crafters make with their first wire nightingale, and most of them are easy to avoid if you know what to look for. First, don’t pull the wire too tight when you’re wrapping details, because it will warp the base shape of the body and make the whole bird look lopsided. You just need enough tension to hold the wire in place, not enough to bend the thicker base wire out of shape.
Another common mistake is skipping the edge sanding step. I learned this the hard way when I gave my first wire nightingale to my grandma as a gift, and she cut her finger on a sharp wire end when she picked it up. It only takes 30 seconds to sand down all the edges, and it makes your finished piece safe to handle for everyone.
If you want to display your nightingale outside, you can spray it with a clear acrylic sealant to prevent tarnishing, but make sure you use a sealant that’s safe for metal. I’ve had sealed wire nightingales hanging on my back porch for 3 years, and they still look as good as the day I made them. If you’re making it as a charm for a necklace or keychain, you can add a small jump ring to the top of the bird’s back before you finish up, so you can attach it easily to whatever you want.
Making wire crafts doesn’t have to be intimidating, and this project is the perfect entry point if you’re new to working with wire. You can adjust the size to make tiny nightingale charms for jewelry, or scale it up to make a larger wall hanging for your living room. Once you get the hang of how to make wire nightingale pieces, you can experiment with different colored wire, add extra details like small wire perches, or even make a whole set of different wire birds to display together. The best part is that no two pieces will ever be exactly the same, so your finished nightingale will be totally unique to you and your style.