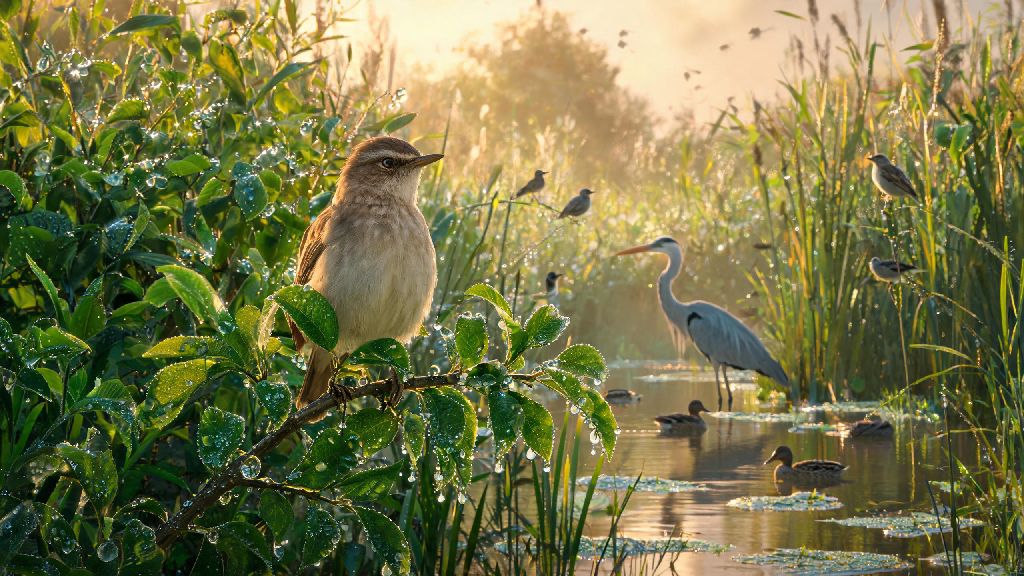
I’ve been sketching backyard birds for over 12 years, and few creatures feel as rewarding to capture as the tiny, melodic nightingale. Most new artists assume their soft feathers and delicate beak are too hard to pull off, but you don’t need professional art training to nail the look. If you’ve ever wanted to learn how to draw a nightingale bird, this guide breaks the process down into simple, repeatable steps that work for pencil, marker, or digital art tools. I’ve included all the little hacks I picked up teaching beginner art classes, so you can skip the frustrating smudges and lopsided proportions that often come with first attempts.
What You’ll Need Before You Learn How to Draw a Nightingale Bird
You don’t have to drop $100 on specialty art supplies to get a great result. I’ve drawn dozens of nightingales with basic drugstore pencils and copy paper, and they turned out just as nice as pieces I made with premium sketch kits. That said, a few simple items will make the process much smoother, especially if you’re new to bird drawing.
- A set of graphite pencils in 2H, HB, and 2B – the hard 2H works for light outline sketches, HB for defining details, and soft 2B for shading dark feather patches
- A kneaded eraser that won’t tear paper or leave smudges when you fix small proportion mistakes
- Sketch paper with at least 70lb weight, so it won’t warp if you add light watercolor or marker layers later
- An optional blending stump, to smooth out feather shading for a more realistic soft texture
Skip the ultra-smooth printer paper if you can; it makes it hard to build up light layers of shading, and your pencil lines will smudge way more easily. If you only have printer paper on hand, work with light pressure for your first outline layers to avoid permanent marks you can’t erase. You can also grab a reference photo of a wild nightingale to follow along, if you want to make sure you match their unique features exactly.
Step 1: Map Out Basic Proportions to Avoid Lopsided Shapes
I see this mistake all the time in my beginner classes: people jump straight to drawing tiny feather details before they get the core shape right, and end up with a bird that looks more like a sparrow or wren than a nightingale. You can avoid this entirely by starting with three simple light shapes that you can erase later if they’re off.
First, draw a small oval for the head, placed slightly above and to the left of a larger, tilted oval for the body. Connect the two with a short, curved line for the neck. Next, add a thin, tapered triangle sticking off the back of the body oval for the tail – nightingale tails are longer than you might think, so make it roughly ⅔ the length of the body. Finally, add a tiny, pointed triangle on the front of the head oval for the beak, and two small lines where the legs will go later.
Don’t press hard with your pencil here. These lines are just guides, and you’ll be erasing most of them once you add details. Double check that the head is about ⅓ the size of the body before you move on – that’s the key proportion that makes your sketch look like a nightingale instead of a different songbird. If the head looks too big or too small, adjust it now, it’s way easier than fixing it after you’ve added all the feather details.
Step 2: Add Feather Details and Key Identifying Features
Now that your proportion guide is set, you can start adding the details that make a nightingale recognizable. Unlike brightly colored songbirds like cardinals or blue jays, nightingales have soft, muted brown and gray plumage, so their small defining features are extra important to get right.
Start with the face: draw a small, round eye slightly above the beak, with a tiny white highlight dot to make it look lively. Add a thin, faint line running from the beak back to the eye, and a small patch of slightly lighter shading under the chin – that’s the nightingale’s signature pale throat patch, which is lighter than the rest of its head feathers. You can also add a faint lighter line along the edge of the wing if you want to highlight the pale wing bar that most nightingales have, that’s another small identifying mark that will make your nightingale drawing feel more accurate.
Next, outline the wings folded against its back. Nightingale wings have a subtle scalloped edge from the overlapping flight feathers, so draw small, curved lines along the bottom edge of the wing instead of a straight line. Leave a small gap between the wing and the body to create depth, so your bird doesn’t look flat or pressed together.
Finish this step by defining the tail feathers and legs. Nightingale legs are thin but sturdy, so draw two thin lines with small, clawed feet wrapped around a branch if you’re adding a perch. You can erase the leftover proportion guide lines once you’re happy with how the details look. If you’re drawing a juvenile nightingale, you can add small, faint speckles on the belly to match their unique plumage, which fades as they reach adulthood.
Step 3: Shade Your Sketch for Realistic Depth and Texture
Shading is what turns a flat line drawing into a realistic, living nightingale, and you don’t have to be a pro to pull it off. The most important rule here is to build up light layers of shade instead of pressing hard with a dark pencil right away – it’s way easier to add more shade than it is to erase too-dark marks.
Start with your 2B pencil to shade the darkest areas first: the tip of the beak, the pupil of the eye, the edges of the wing feathers, and the small patch on the top of the nightingale’s head. Keep your pencil strokes going in the same direction as the feather growth, which is usually downward along the body and outward along the wings. If you’re drawing a nightingale mid-song, you can slightly open the beak and add a small dark line inside to show the back of its throat, it’s a small touch that makes the drawing feel much more dynamic.
Next, use your HB pencil to add soft, light shading to the back and sides of the bird, leaving the throat, belly, and the edge of the wing closest to you lighter to mimic natural sunlight. If you want to make the feathers look soft, use a blending stump to gently smooth out the edges of your shaded areas – don’t over-blend, or you’ll lose the texture of the individual feathers entirely. If you don’t have a blending stump, the edge of a clean paper towel works just as well.
Finish with a few tiny, dark lines along the top of the wing and the tail to add subtle feather texture, and a small amount of light shading under the bird’s body if it’s perched on a branch, to create a soft shadow that grounds the drawing. Don’t worry if it’s not perfect on your first try; even experienced artists tweak their shading 2 or 3 times before they’re happy with the result. It’s totally fine to leave small imperfections in your sketch – they make the piece feel more authentic and hand-drawn, instead of a stiff, generic digital illustration.
The best part of learning to draw birds is that every sketch gets a little easier the more you practice. I still have my first lopsided nightingale sketch taped to my art desk, and it’s fun to look back and see how much my work improved after just 4 or 5 attempts. Even 10 minutes of practice a week will make a noticeable difference in your drawing skills, so don’t get discouraged if your first try doesn’t look exactly like the reference photo you’re using. You don’t have to share your first drawing with anyone if you don’t want to; the goal is just to have fun and get more comfortable with your art skills. Next time you want to try a new art project, remember how easy it is to learn how to draw a nightingale bird with these simple steps, and don’t be afraid to add your own creative touches, like a floral background or watercolor accents, to make the piece your own.